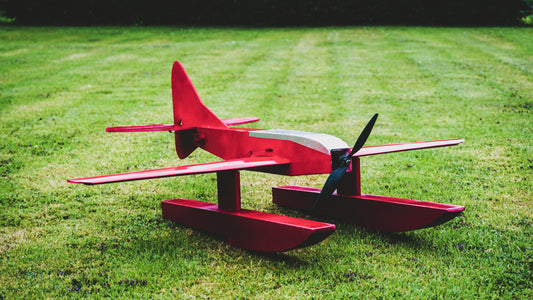
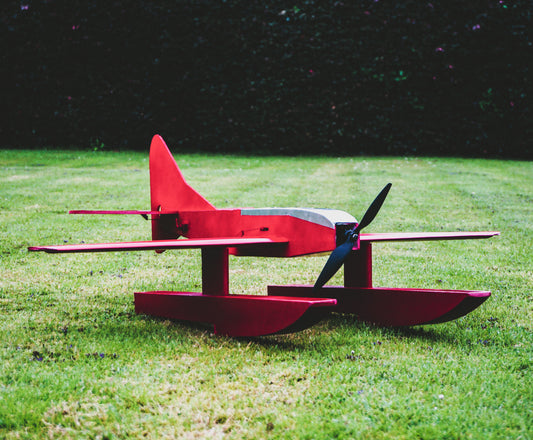
This is a rocket plane I built to see how fast it could fly.
It uses one of the largest model rocket engines I could get to fly to speeds way faster than any of my previous model aircraft.
It’s made from cardboard tubes, 3d printed parts and balsa wood and is based on the real life plane that currently holds the record for the fastest plane ever built - the X-15.
I thought starting with parts from a high power model rocket kit from Model Rockets would be a great idea.
The kit included a super-strong fuselage tube, and some beefy centring rings for mounting the powerful rocket engine, which was exactly what I needed but they were somewhat heavier than we hoped.

Some parts needed to be modified and others needed to be made entirely from scratch.
A custom nosecone needed to be made to match the original X-15 which was printed on my Bambu Labs P1S 3D printer.

We needed to add fins and wings which would be simple sheets of material, with no electronically controlled surfaces to steer it.
It worked just like a normal rocket, with a parachute to help it land safely.
These wings and tail surfaces were precision laser cut from a strong plywood sheet and epoxies to holes cut at precise locations along the fuselage tube.
Since the single-sheet wings weren’t strong enough on their own, I reinforced them by laminating them with balsa wood.

The fuselage wasn’t just a simple tube, though. The real X-15 had distinctive bulges on either side, so I shaped these using strips of balsa wood.
This took hours of sanding and filling to get a smooth, accurate finish.

With the paint finished and stickers applied, the first X-15 prototype was mostly complete—and it looked incredible!

Finally, we packed the all-important parachute which would allow the rocket to float safely back down to the ground.
On model rockets, parachutes are usually deployed a small ejection charge that happens automatically once the rocket has been launched.
Once the fuel is ignited, the fuel burns out, a delay charge ignites, triggering the ejection charge. This blast pops off the nose cone, pulling out the parachute on a shock cord.

Test 1
After a solid couple of weeks of designing, planning and constructing, we headed up to our normal flying field for the first test flight of our new X-15 program.
The aim for this flight was to simply find out how well the rocket would fly on the smaller F size engine, which produced about 6kg of peak lifting force, and to see if it matched the simulations on the Open Rocket software which said it would get up to about 108mph.

Test flight 1 did not go as hoped, the X-15 crashed! After an initial upwards acceleration, the X-15 took a sharp right straight back towards the ground.
We returned to the workshop with a battered and broken X-15, and worked on studying the footage and figuring out exactly what went wrong but thankfully our X-15 was repairable.

After reviewing all the data from the first test launch, we managed to piece together a solid theory about what went wrong with the X-15. It all came down to the wings—but that wasn’t the only issue.
The centre of gravity (CG) is the point where the rocket's mass is balanced, while the centre of pressure (CP) is where aerodynamic forces act.
For a stable flight, the CG needs to be ahead of the CP. This ensures that any disturbance creates a restoring torque, pulling the rocket back onto its original flight path.
Fins at the rear increase aerodynamic stability by shifting the CP backward, keeping the rocket steady in flight.

The problem with our X-15 being designed like an airplane was it had its centre of pressure located over the midpoint of the wing, where most of the lift is generated!
Clearly, we had to make the rocket plane behave more like a rocket. That meant shifting the centre of gravity forward and the centre of pressure backward. Adding weight to the nose could help with the CG, but this came with its own challenges.

I needed to repair the tail and increase its effectiveness to push the centre of pressure as far back as possible as well as making it stronger.
Lightweight fins were absolutely essential so I decided to make the fins out of foam board.
I’d previously tested foam board fins on a rocket plane that reached 145 mph, and somehow they actually survived.

We also had to tackle the opposite end of the aircraft: the centre of gravity problem.
This issue was made worse by the larger, heavier engine we planned to use on the next flight. The G motor was nearly twice as heavy as the previous one, with more fuel and a sturdy aluminium casing.
According to our simulations, this engine could push the X-15 to 180mph and up to an altitude of 800ft.

While this engine would provide far more thrust, it would also shift the centre of gravity even further back and this meant we would have to add even more nose weight to balance the rocket.
But adding weight would reduce speed and altitude, so of course I aimed to keep it to a minimum.
I used lead for the counterweight because it’s dense and compact.
The farther forward the counterweight is from the centre of gravity, the more effective it is so if I compacted the lead far into the nose cone.

Luckily, lead has a relatively low melting point of 327.5 degrees Celsius, so I could reshape it into the nose really quite easily with the help of a blowtorch and lots of protective equipment.
Lead is extremely toxic, so do not try this at home.

The next step was improving the onboard camera system because the previous set up was bulky and not very streamlined.
The new camera had a detached board and battery from the main camera.
Using this allowed for a much more low profile setup as most of the camera was actually within the nose cone, unlike the previous camera which was rather like a brick in comparison.
Although turning it on was a bit fiddly, this setup was far better suited for a high-speed rocket.

Test 2
Right, with all of the fixes done, we could again head up to the flying field for a test with the new G size mid-power rocket engine to get set up for another launch attempt.

Of course, just like with the real thing, to fly model rockets you need to follow safety guidelines through ensuring there is enough space in case anything goes wrong with the launch or parachute recovery.

After a perfect launch and climb, something had gone wrong when the parachute was supposed to deploy. The X-15 had slammed into the ground near its terminal velocity of over 100mph, enduring an incredible 9Gs of force on launch without showing any signs of stress on those foam board fins up to 800ft.
We were left with a high speed crash rather than a triumphant gentle touch down but due to the soft mud, amazingly the airframe was almost completely intact!

These particular rocket motors use a delay charge to time the parachute deployment, and I think I got the timing wrong. Instead of deploying mid-air, the delay charge ignited only after the rocket had already hit the ground.
That’s definitely something to fix for next time. I’ll need to take much greater care when preparing the motors to avoid this kind of error in the future.
It was frustrating not to get the plane back in one piece—but what a spectacular flight it had been. The rocket had performed brilliantly, with the stability issue being completely solved.
I’d successfully built a model of the X-15 and pushed it to 180mph — an incredible speed for a model aircraft.

If you liked this article, there’s more to read in our articles section!
Cheereo!

